Shop tip: The exciting world of disc brake maintenance
By Forrest Scott, Mechanic
This month’s shop tip covers pad replacement and adjustment for mechanical disc brakes. Since the Avid BB7 model is increasingly common as stock equipment for commuting bikes, I chose to focus on this particular model for this month’s tip. Much of the information below is relevant to other mechanical brake models. The exceptions are that most other brands of brakes require an allen wrench for the pad adjustment and may have set-screws that lock pad placement in.

Supplies Needed: Standard and needle-nose pliers, T20 Torx wrench, 5mm allen wrench, cotton swabs, rubbing or denatured alcohol, and replacement pads. Gloves are an excellent option, too.
Before we begin, here’s a basic overview of mechanical disc brake parts.

A mechanical disc brake is made up a brake lever, a caliper, a cable connecting the two and a rotor. The caliper, the actual brake bolted to the bike, is made up of two brake pads—inboard and outboard—between which the rotor will be clamped to provide the braking.
The inboard pad is adjustable during setup, but then remains fixed during operation. The second pad, the outboard, is the moving pad. This pad is attached to an arm on the caliper. This arm contains the cable clamping and rotates when the brake lever is depressed. This action moves the outboard pad inward toward the inboard pad, thus clamping the disc rotor.
Okay, now that you have a bit of background information, let us begin.
First, remove your wheel from your bike. Using the adjustment knob, back the outboard pad all the way out (turn the knob to left as far as it goes).
Using the Torx wrench, back the inboard pad adjustment out all the way. This will allow adequate clearance for pad removal and re-installation.

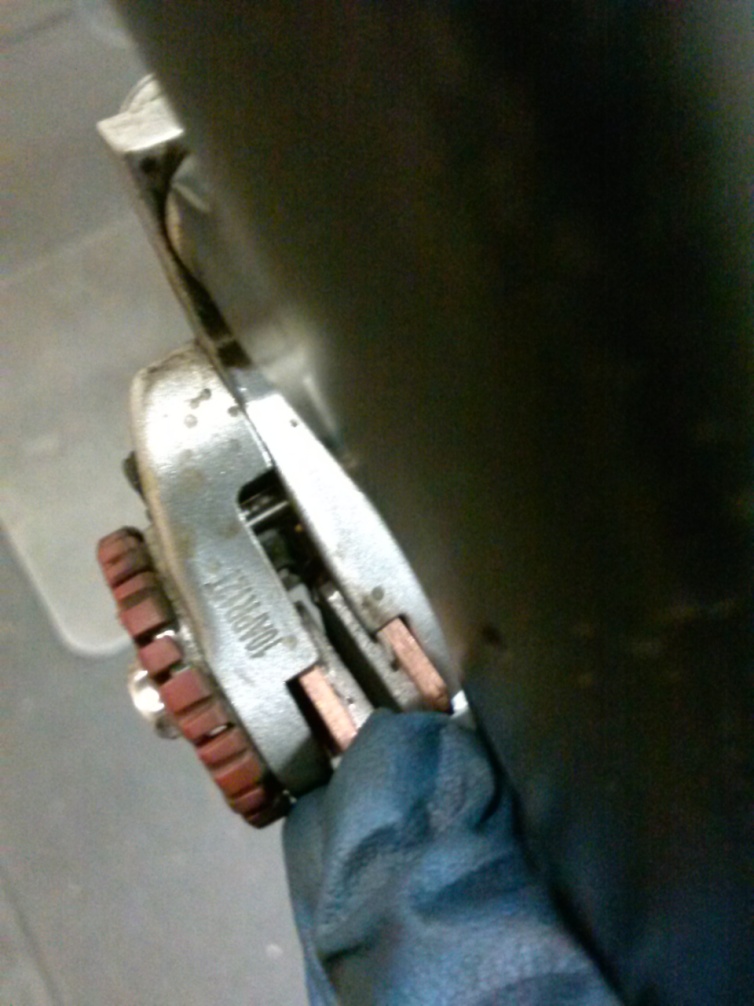
Using the standard pliers, grasp the tabs on both brake pads and pull straight out of the caliper body. Make sure you get the return spring out too.
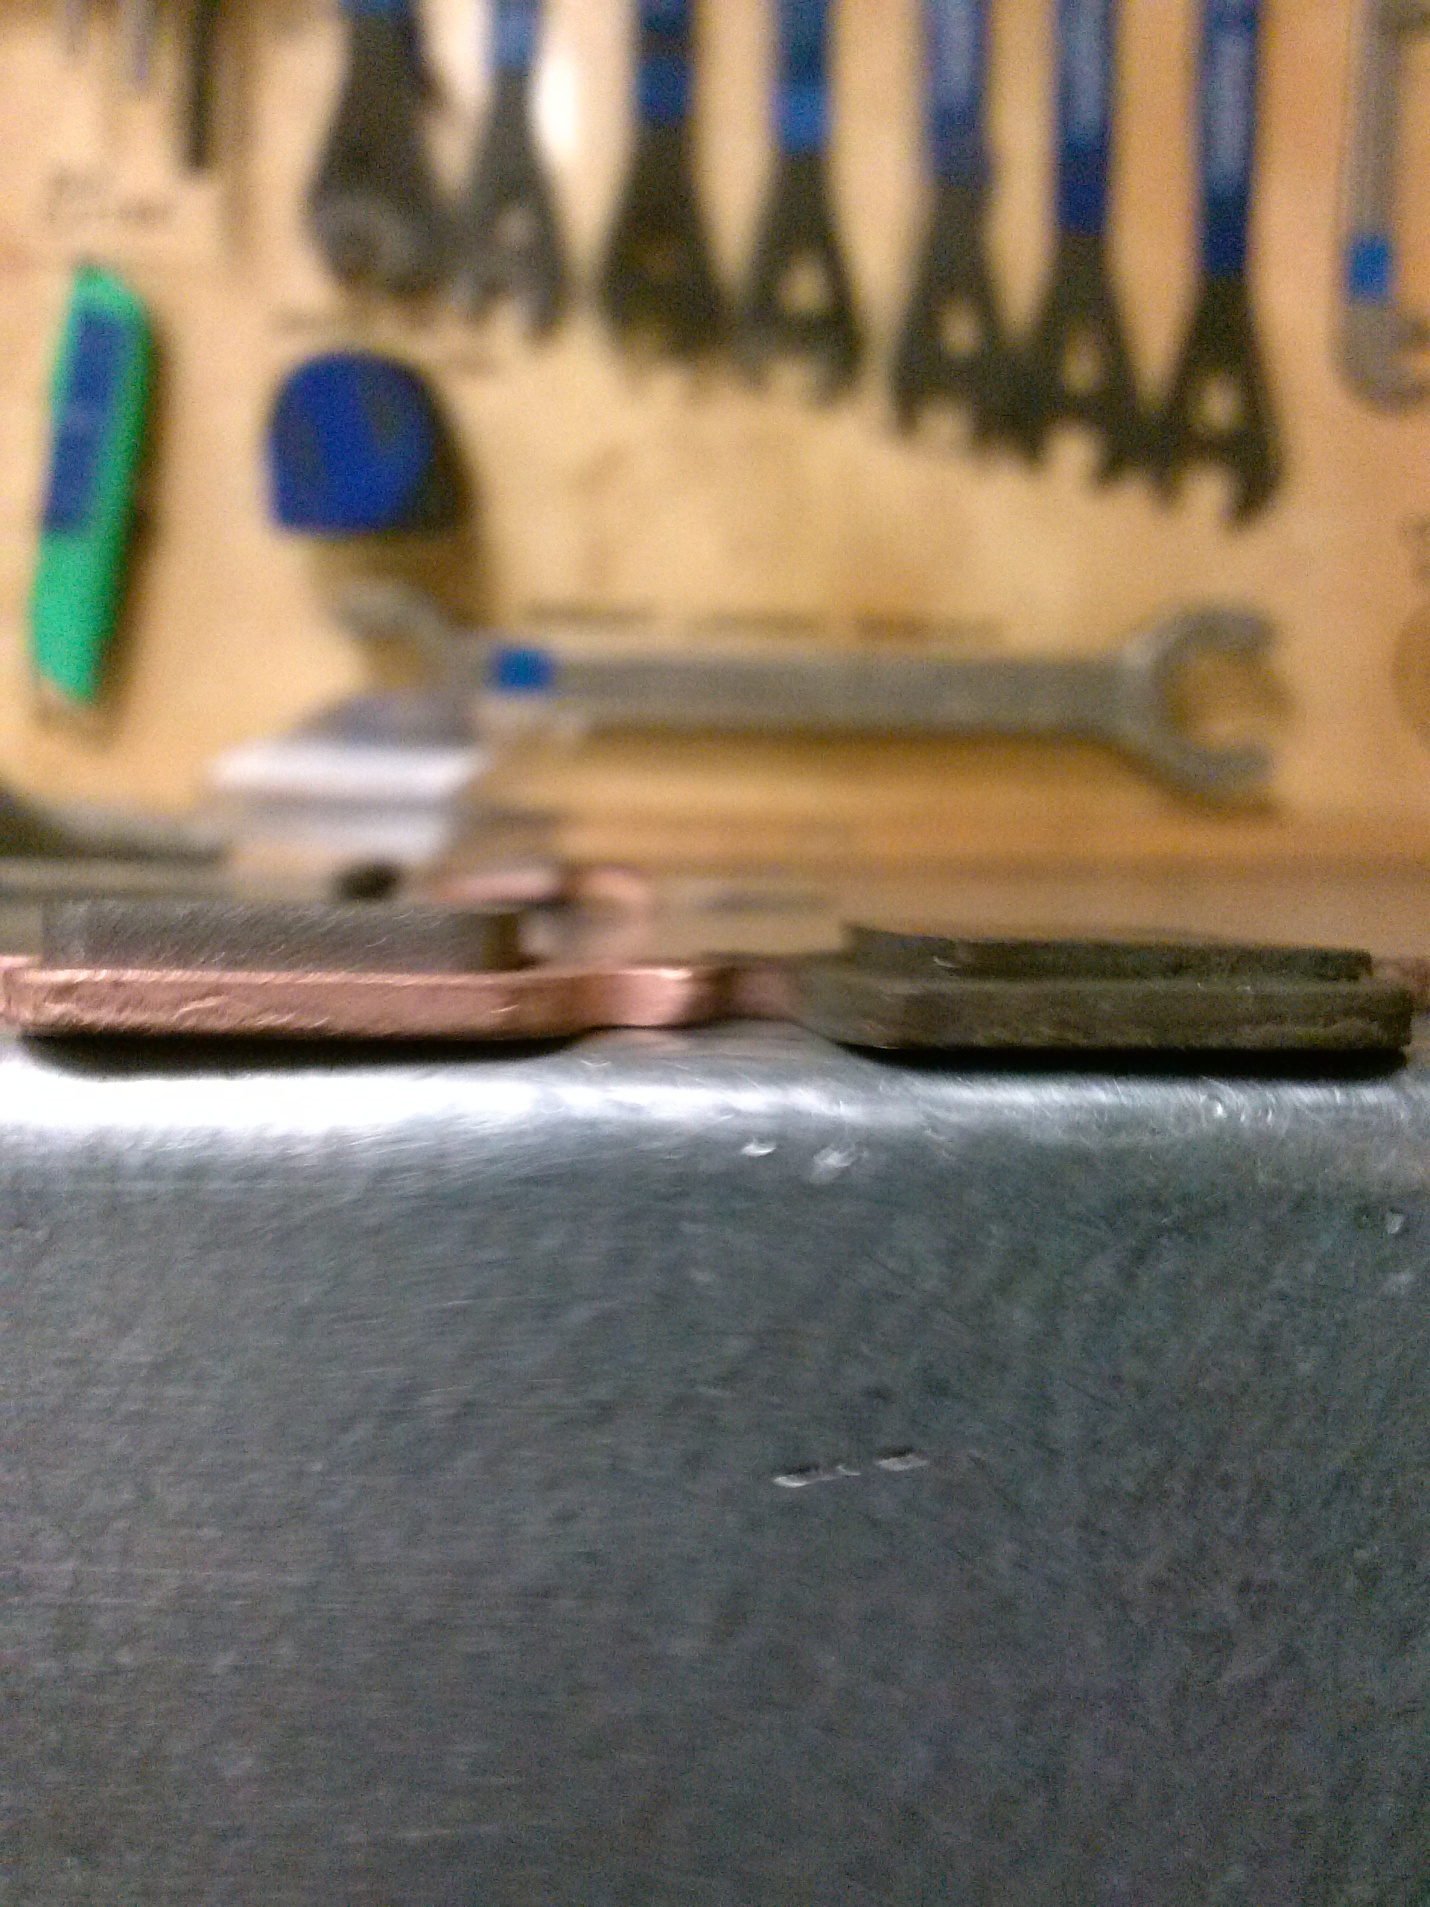
Here’s a picture of a worn brake pad on the right, and a new pad on the left. Notice the sloping wear on the old pad. This can be indicative of improper alignment or the brake being run out of adjustment for too long.

Using alcohol and a cotton swab thoroughly clean the inside of the caliper body.

Being careful not to touch the surface of the new pads, assemble a “spring sandwich” with the return spring between the pads. I often tweak the spring a little to make it hold the pads more parallel—this allows for decreased distance between the pads and the rotor with less interference.
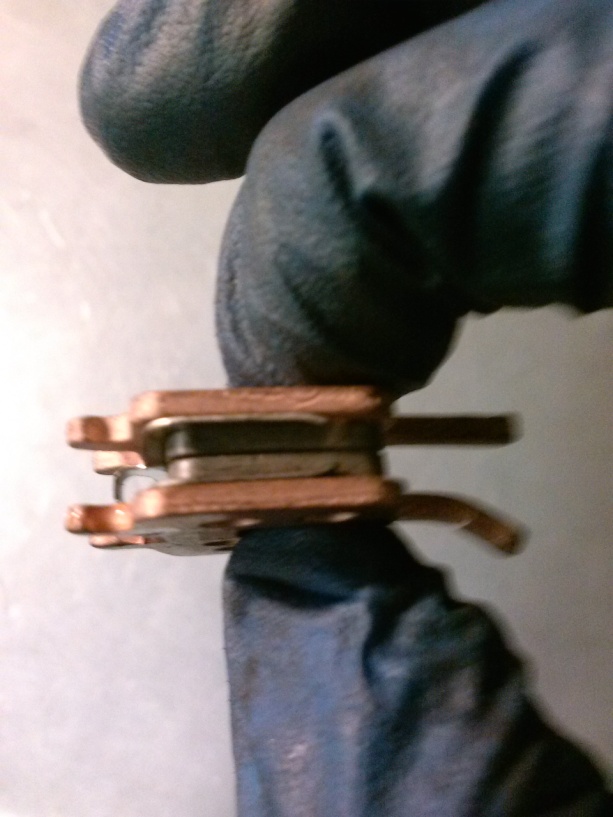
Pinch the pads together and determine the correct orientation for inserting into caliper.
This can be tricky as you need both pads and the spring to slide into the caliper. Often pads want to get hung up on something or the spring wants to pop loose.
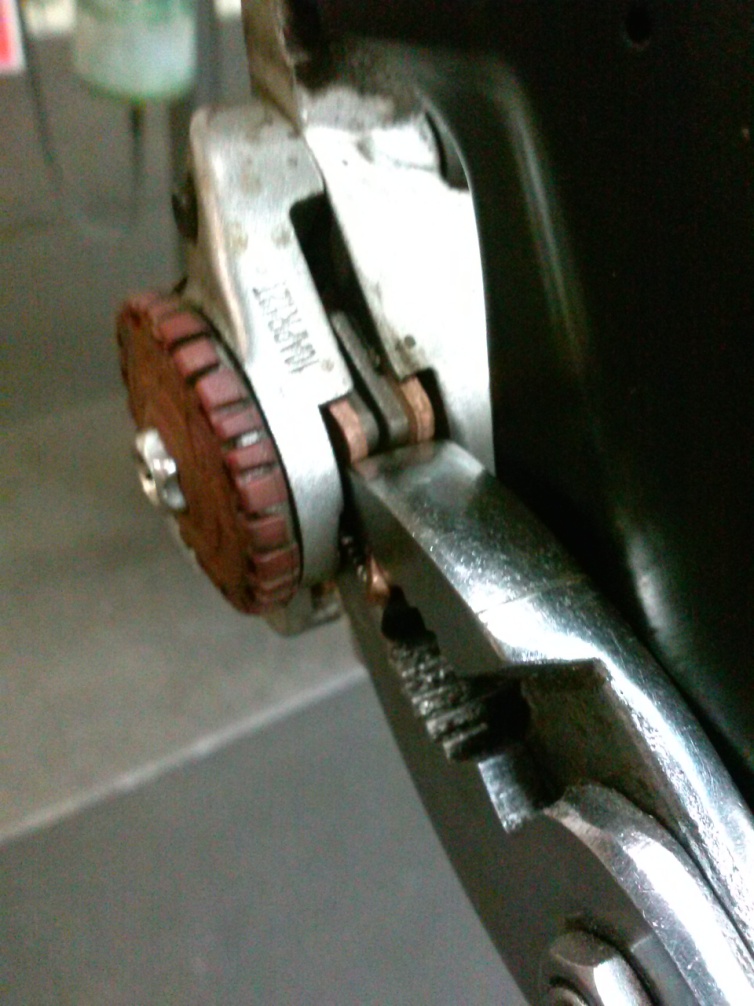
Once the pads are most of the way into the caliper, you may feel some resistance before the pads fully engage the retainer spring in the rear of the caliper. Use the nose of the standard pliers to firmly push against the backing plate until you feel a “click” as the pads engage. It is very important that the pads are fully seated in the caliper.
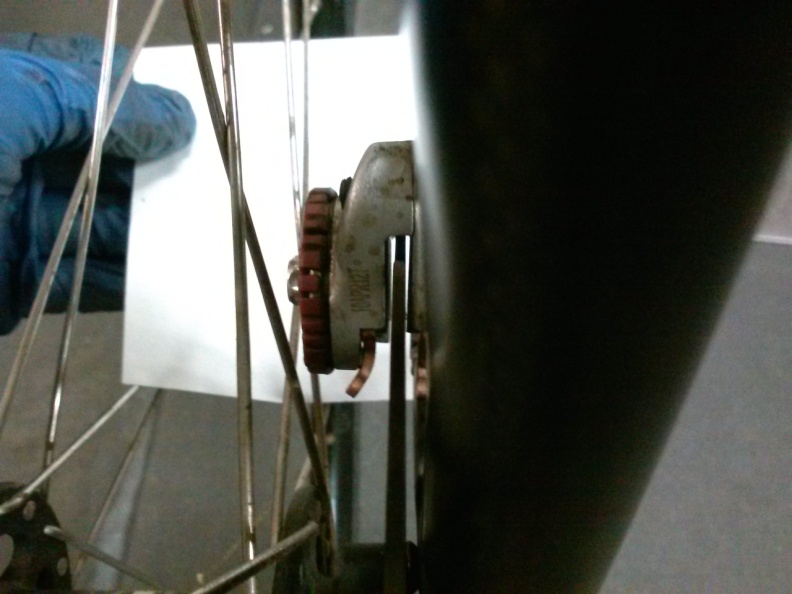
Here’s a view of it fully assembled with the wheel in place. Notice the gaps between the pad faces and the rotor.
Next, we address proper caliper alignment and pad adjustment.

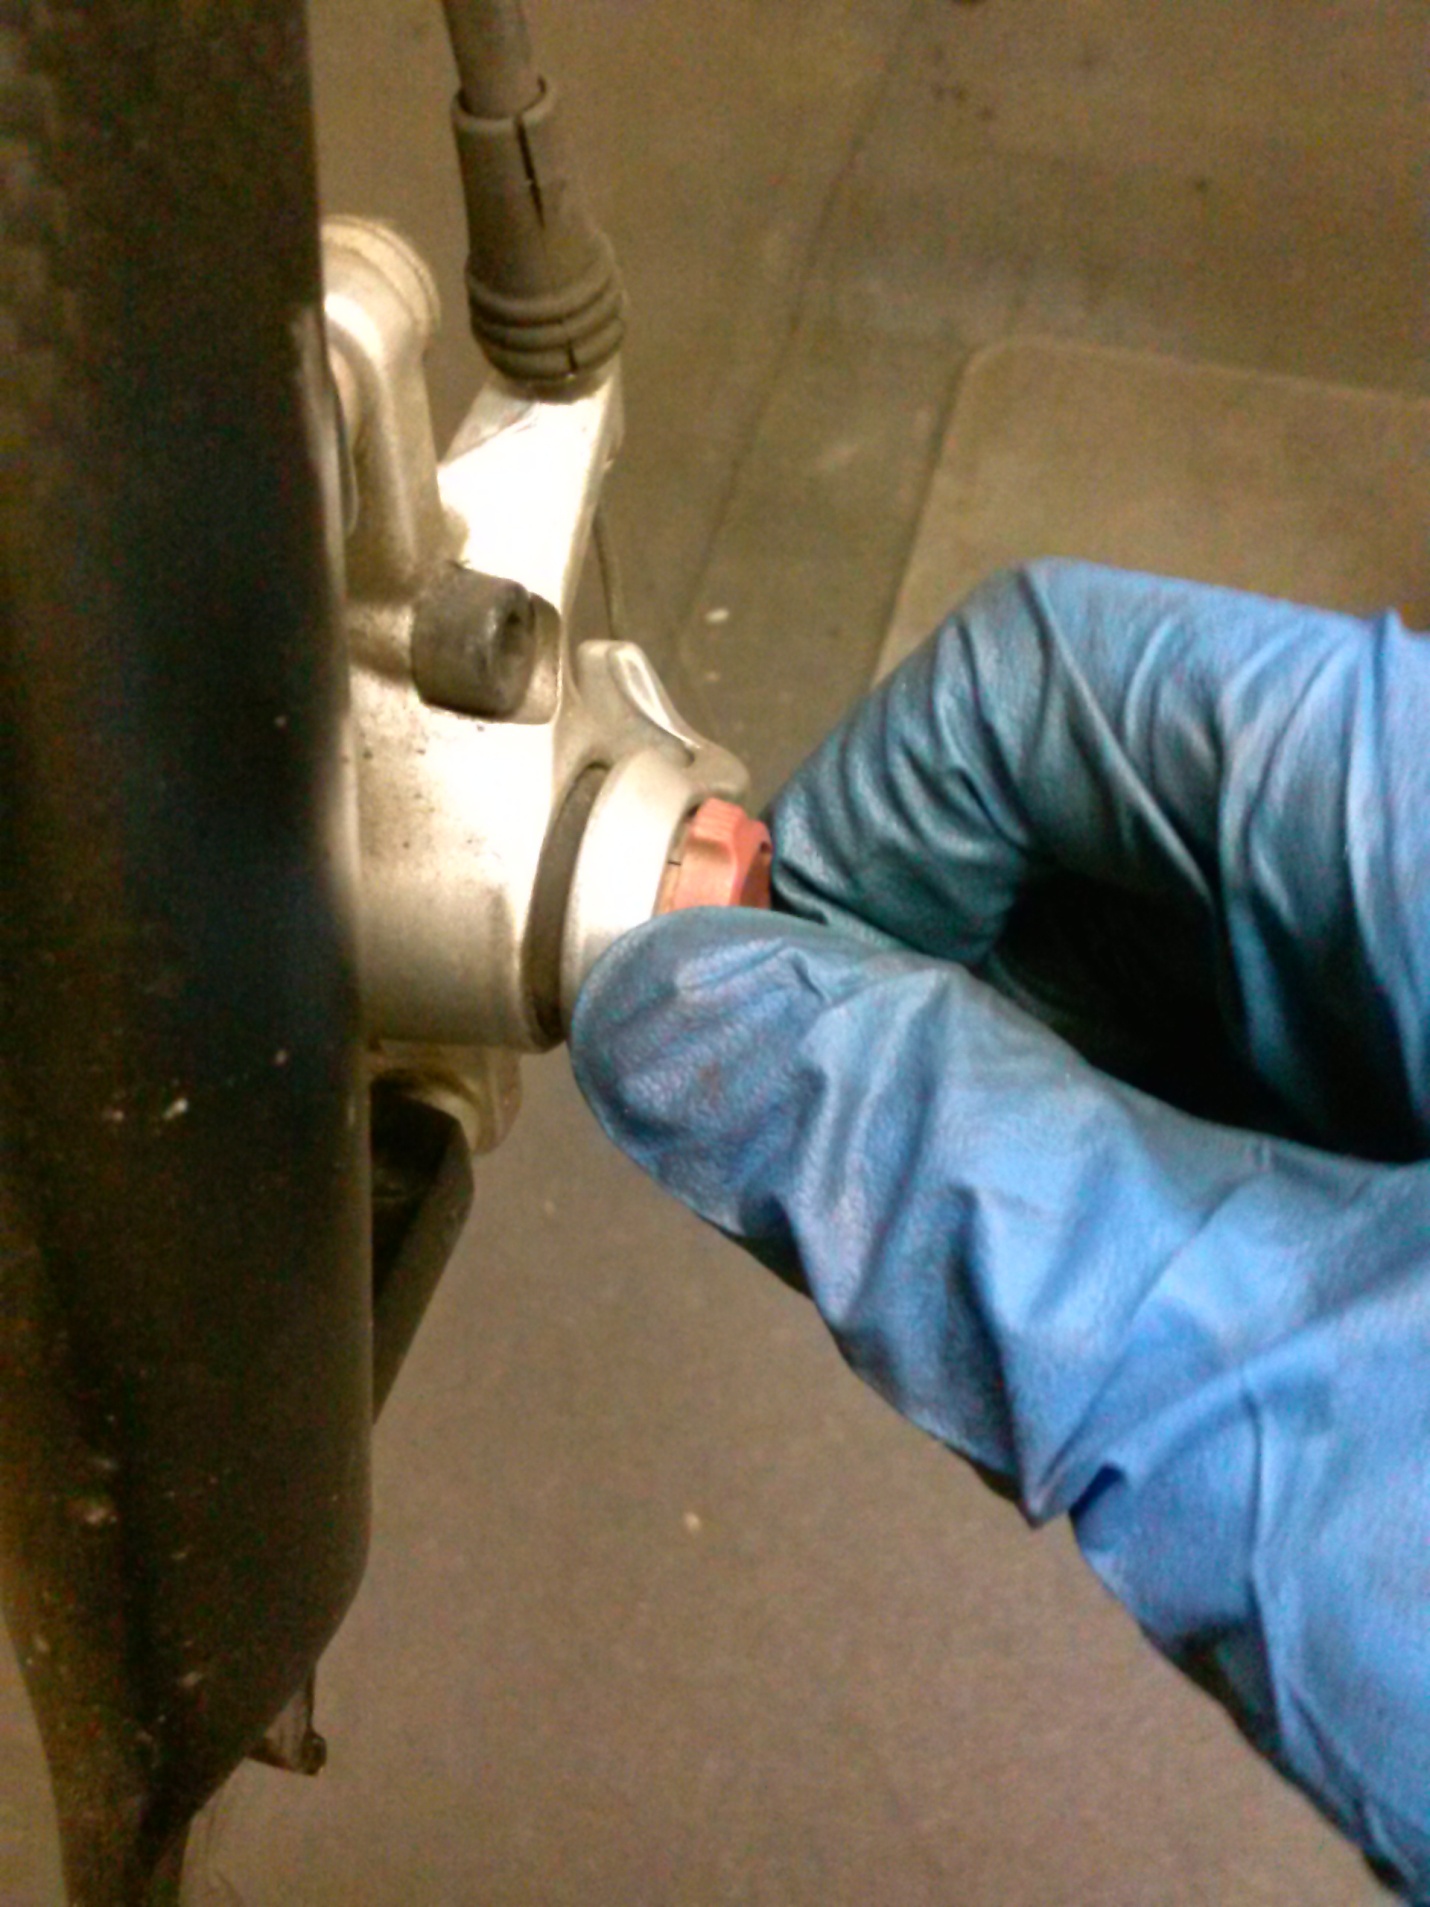
Loosen the top and bottom caliper fixing bolts with a 5mm allen wrench. They only need to be loose enough to allow the caliper to “float” slightly on its mount.

Using a T20 wrench, turn the inboard pad adjustment knob until the pad contacts the rotor. You are aiming to center the caliper on the rotor so pay attention to the way it centers.

Use the outboard adjustment knob to run the outboard pad in to contact the rotor. You should just barely be able to turn the wheel.
Inspect the caliper and rotor relation; be sure the rotor is held in the middle of the caliper, or that the caliper is based slightly inboard. Rotate the wheel slowly one or two revolutions to allow the caliper to align with the rotor.

This is Avid’s recommendation for caliper placement.

Secure the mounting bolts. Tighten the top and bottom bolts in an alternating pattern.

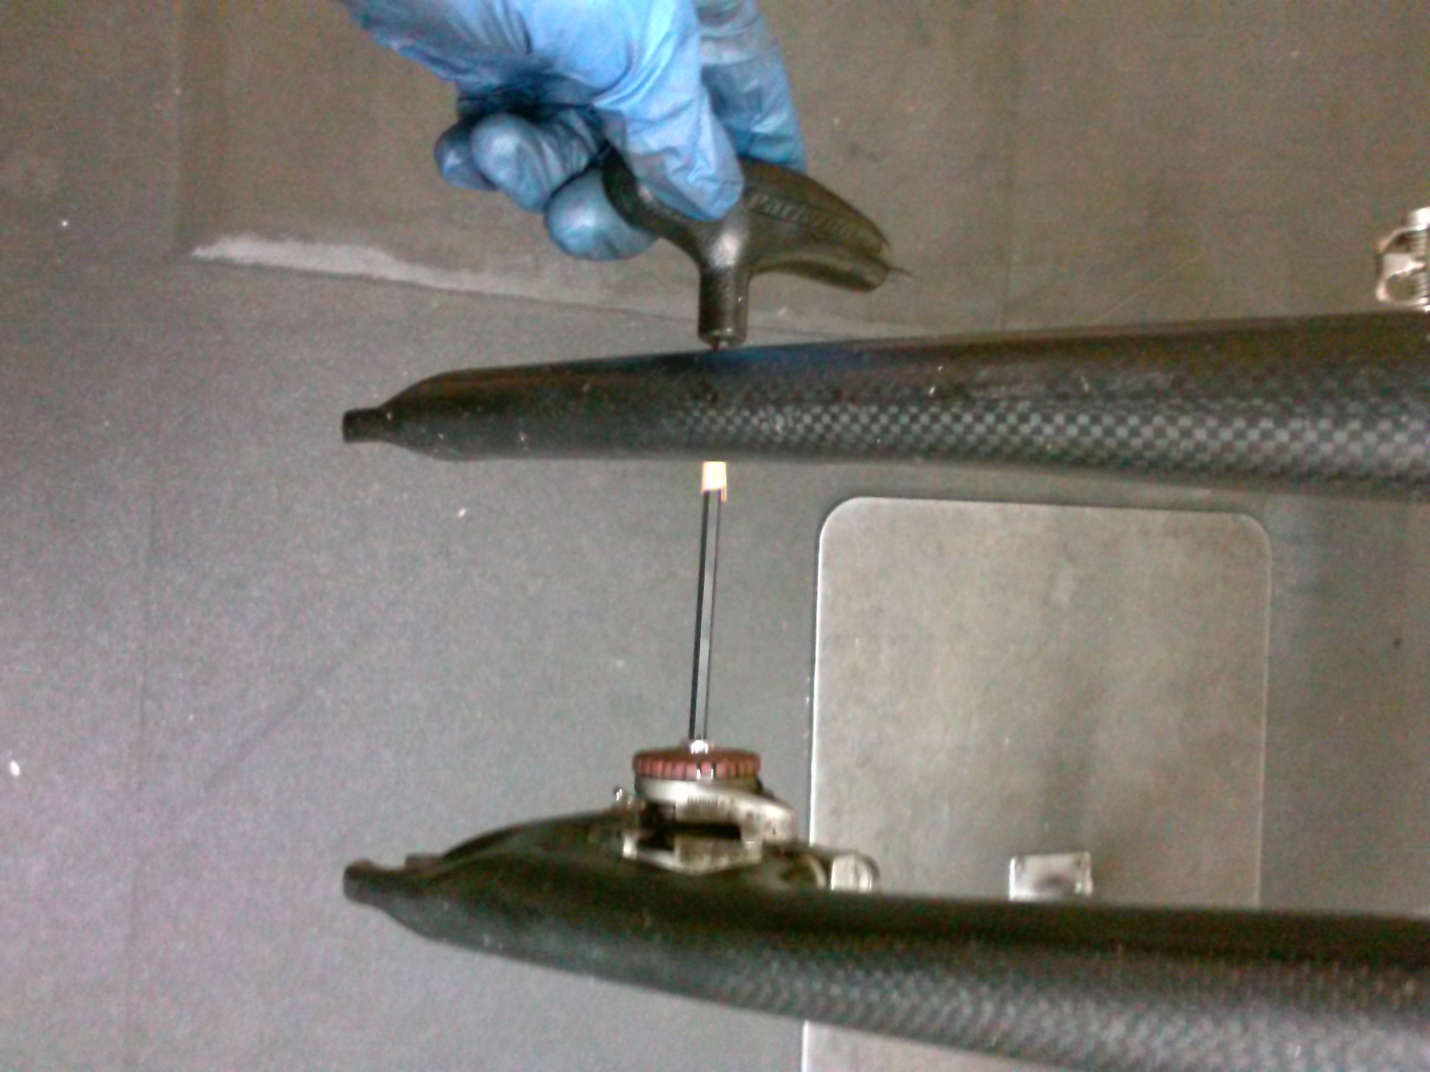
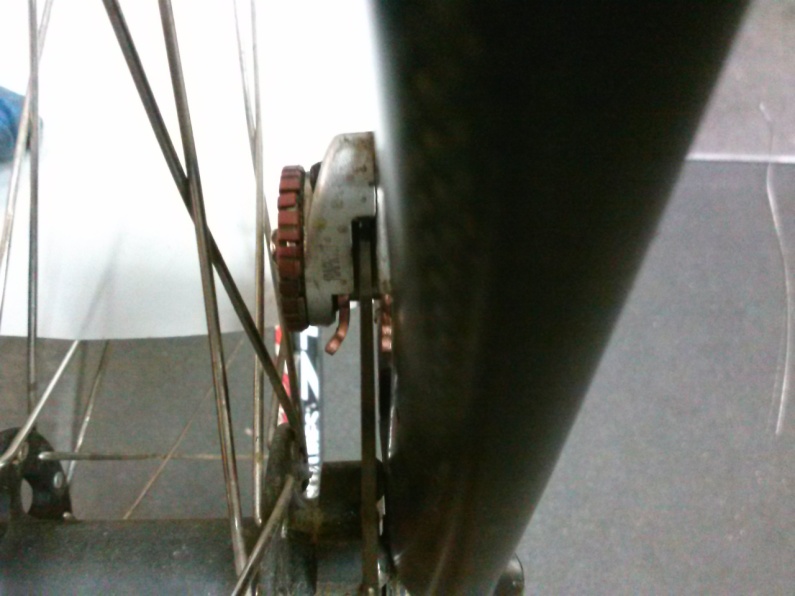
Using the inboard and outboard pad adjustment knobs, adjust the pads such that the gap between the inboard (wheel side) pad and the rotor is half that of the distance between the outboard pad and the rotor. This minimizes the amount of flex required for the rotor to contact the inboard pad. Less flex of the rotor results in faster brake engagement and more even pad wear. This picture doesn’t quite capture what it should, however, one can see how small of a gap exists between the inboard pad and the rotor.
Now, grab a helmet, hop on the bike, and ride around the block. Make a few purposeful stops to bed the pads in. You may hear small amounts of rubbing. This can be fine-tuned with the pad placement knobs. In some cases the rotor may need to be trued if it is badly warped. Small, intermittent instances of pad rub on the rotor should be ignored as they will do little to the bike’s performance and will drive you mad if you try to get rid of them entirely. Double-check all hardware for security. Pads will gain stopping power in the first 10 to 20 miles.
Questions? Feel free to stop by our shop and talk to one of our friendly mechanics. We’re open 11am-7pm Sunday through Friday, and 10am-7pm on Saturdays.