Shop Tip: Selecting and adjusting saddles
PART 1: SELECTION
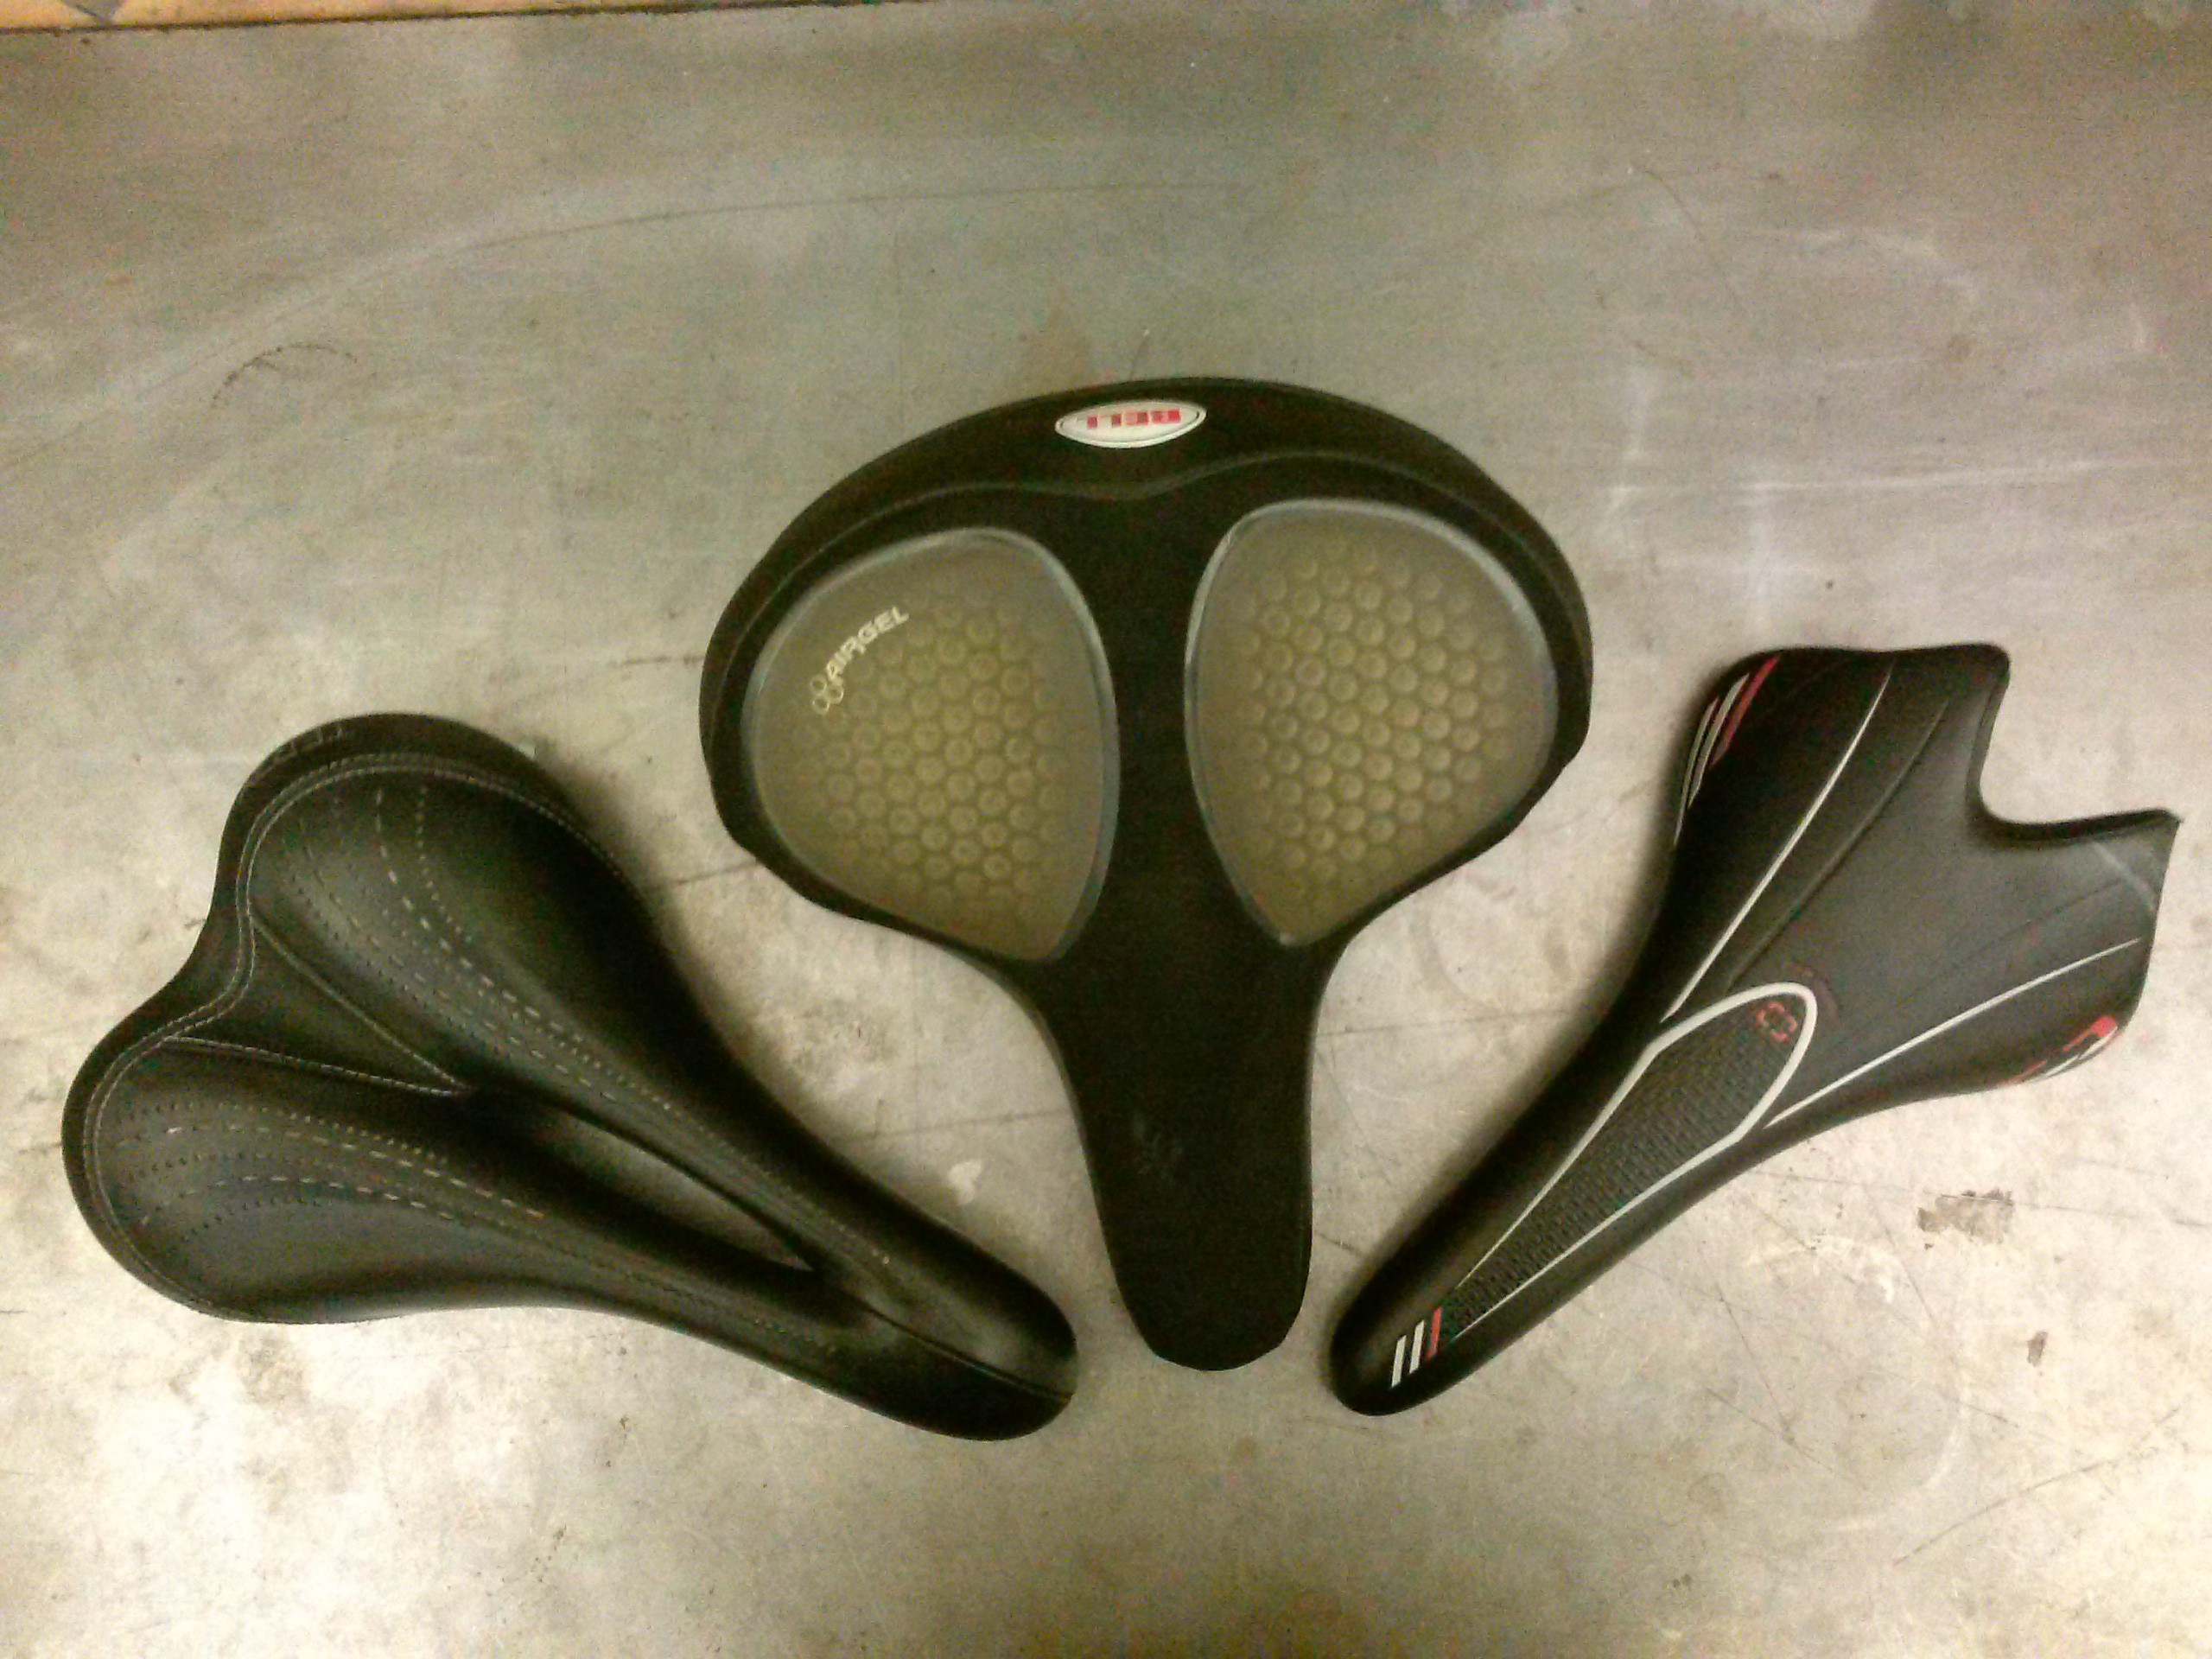
Choosing a saddle that is the correct shape for your body is an important part of making sure that you’ll be comfortable on your bike. It’s also something that a lot of people struggle with. Here are some saddle basics to help you along your way.
 A saddle that is the correct width will allow you to carry all of your weight on your “sit bones” (or “tuberosity of the ischium”), rather than on the soft tissue in between. To help determine your ideal saddle width, you can start by measuring your sit bones. These are the lower, rear portion of your pelvic bone, so-named because you sit on them. Place a sheet or two of nice, thick corrugated cardboard on a hard surface and, when you sit on it your sit bones will leave the deepest impressions in the cardboard. (If you are tiny like I am, you might need to use a bit of clay or play-doh between two sheets of paper instead.) Measuring the distance between the two indentations will provide you with the information you’ll need to compare the distance between your sit bones to the width of a saddle. You’ll also want to consider how the curvature of the saddle’s surface will affect where the pressure points will be.
Tips:
- Don’t be afraid to ask if you can test ride your new saddle before you buy it. Ask if a mechanic would be willing install any prospective purchases on your bike so you can take them for a spin before opening your wallet.
- Save the receipt when you purchase your saddle! Sometimes a saddle that’s comfortable after 10 minutes will be torture after 10 miles.
- If your legs are chafing against the saddle’s nose, you may want to try a saddle with a shorter or narrower nose.
- If your bike’s shape requires an aggressive riding posture- one in which you are bent or hunched over when you ride, you may want to consider a saddle with a “relief area” in the center of the saddle. This cut-out or indentation acts to further decrease the amount of pressure which you’ll be putting on your soft tissue as you ride.
- Excessive gel and padding may allow your sit bones to sink into the saddle, which will redistribute weight back to where you don’t want it to be.
- Too wide is usually better than too narrow.
PART 2: ADJUSTMENT
Tilt
Once you have selected a saddle that looks like it’s the correct size and shape, the next step is to ensure that you install it correctly.
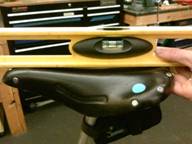 Making sure that your saddle is level from tail to nose will help you stay seated firmly in one place as you ride. If the saddle is tilted, your body will tend to slide forwards or backwards off the saddle, which means that you will have to hold more weight on your hands to keep yourself in place. This puts strain on your wrist, shoulders and neck, which can cause pain or even repetitive stress injuries.
In order to adjust the angle of your saddle, you’ll need to loosen the clamp that holds it onto the seatpost. There are two types of clamps, integrated and non-integrated. Both use a system of interlocking ridges to prevent shifting during use. 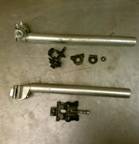 You’ll need to loosen the nuts or bolts (depending on the type), but you probably won’t need to remove them completely, and then jostle or bop the clamps apart if they don’t release the saddle-rails on their own. You’re then free to adjust the angle of the saddle as you see fit and then tighten the nuts or bolts back down. Don’t worry if a level saddle isn’t perfect for you. Because all saddles and all riders are a little bit different, making small adjustments (20 degrees or less) to the angle of your saddle is a-okay.
Height
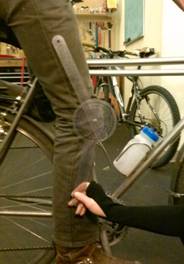 After you’ve selected your saddle, installed and adjusted it, the next step is to raise your seatpost to the correct height. First, you’ll want to loosen your seatpost binder bolts, so your seatpost can move up and down easily, and then align the top of your saddle with the top of your hips. This is a great way to select a reasonable starting point from which you can make small adjustments. Once you have tightened down your seatpost binder-bolt to hold your seatpost in place, hop onto your bike, using one hand to steady yourself on a chair or table. Then you can have a friend gauge how much your leg is extended at the bottom (6 o’clock) of your pedal-stroke. (Just looking at your leg works fine- we’re only using a special tool in the picture to better illustrate the point.) Most experts recommend around 30 degrees of bend in your knee when your foot is parallel with the ground, but optimal extension will vary a bit from person to person. Once your seatpost is set to a reasonable height, you can make tiny adjustments – less than a quarter inch up or down at a time – if you’re feeling pain or soreness around your knees after riding.
These are the basics for selecting and adjusting saddles, but there’s a lot more information out there. Search online and ask the folks at your local bike shop. We’d be happy to help!
Photography: Forrest A. Scott
Leg: Jonnie E. Ling